
An Android emulator hypervisor driver acts like a bridge, translating the language of Android apps for your PC. This software layer allows you to run Android applications on your AMD processor-based computer. It’s an essential tool for developers and gamers alike, especially for those who want to test apps or play Android games on a bigger screen.
Choosing the Right Android Emulator Hypervisor Driver for AMD Processors
The Android Emulator Hypervisor Driver for AMD Processors, or AMDH, is a popular choice. It’s specifically designed for AMD processors, ensuring optimal performance and compatibility. Before starting the installation process, you need to ensure that your processor supports virtualization.
Checking Processor Virtualization Support
Most modern AMD processors support virtualization, but it’s always a good idea to double-check. You can do this by accessing the BIOS or UEFI settings on your computer. Once you’re in the settings, look for a section labeled “CPU Configuration,” “Advanced,” or something similar. Inside, you should find a setting called “SVM Mode,” “AMD-V,” or “Virtualization.” If it’s disabled, enable it to allow the hypervisor driver to work properly.
Downloading the Android Emulator Hypervisor Driver for AMD Processors
Before installing the AMDH, you’ll need to download it. You can find it on the official Google site for Android developers. It’s always best to download the latest version to ensure optimal performance and compatibility.
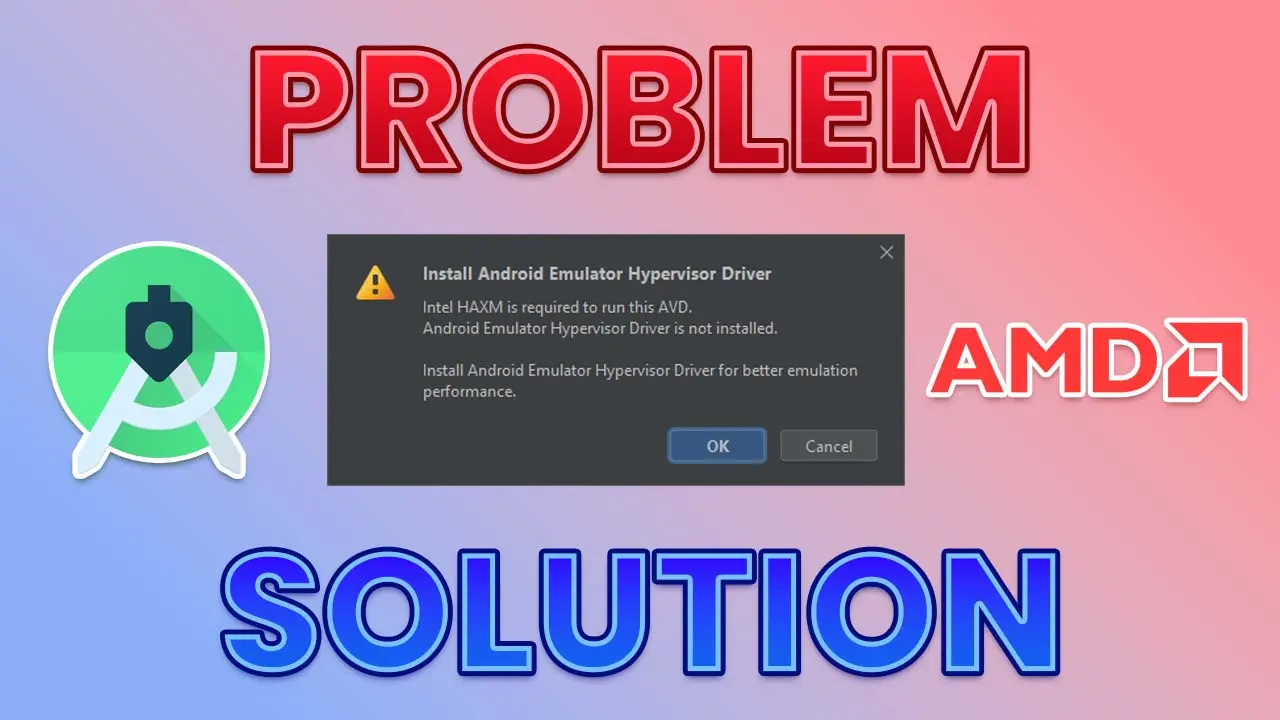
Install Android Emulator Hypervisor Driver
With the AMDH downloaded, it’s time to install it. Locate the downloaded file, usually in your “Downloads” folder, and extract it. Inside the extracted folder, you’ll find an executable file named ‘silent_install.bat’. This is the file you’ll be running to install the hypervisor driver.
Running the Installer
Right-click on the ‘silent_install.bat’ file and choose “Run as administrator.” This will start the installation process. A command prompt window will open, showing the progress of the installation. Once it finishes, it will automatically close, indicating that the installation process has been completed.
Verifying the Installation
Now that you’ve installed the Android Emulator Hypervisor Driver for AMD Processors, it’s important to verify the installation. Open your Android Emulator. If it runs without any hitches, then the driver has been installed correctly. If not, you may need to troubleshoot.
Troubleshooting Common Issues
Some common issues include the emulator not opening or running slowly. If the emulator doesn’t open, check your virtualization settings again. If it’s running slowly, your computer’s performance settings might need adjusting. Keep in mind that running an emulator requires significant system resources.
Conclusion
With the Android Emulator Hypervisor Driver for AMD Processors installed you’re ready to start using Android apps on your PC. From testing new apps to playing your favorite games, the possibilities are limitless. Enjoy the convenience and flexibility that comes with running Android applications on your desktop or laptop.
This guide provides a comprehensive step-by-step process for installing the Android Emulator Hypervisor Driver for AMD Processors. It’s crucial to follow each step carefully to ensure a successful installation. Remember to verify your installation, and don’t hesitate to troubleshoot if needed. Happy Android-ing on your PC!